
Prefabricated container homes achieve 35% faster construction timelines than traditional builds (Modular Building Institute 2024) by merging modular design with intentional planning. This section outlines strategies for balancing structural integrity, spatial efficiency, and personalization in your quickassembly project.
Step-by-Step Planning for a Quickassembly Container Home
Begin with a 360-degree site analysis evaluating sun exposure, wind patterns, and soil stability. Next, create a phased budget allocating:
- 40% to foundation and structural modifications
- 30% to insulation and utilities
- 20% to interior finishes
Finalize permits early–zoning approvals take 3–8 weeks in most regions.
Choosing Modular and Customizable Layouts
Opt for stackable configurations (vertical or staggered) to maximize square footage without expanding the foundation footprint. Consider hybrid approaches:
- L-shaped arrangements for private courtyards
-
Tandem clusters for multi-generational living
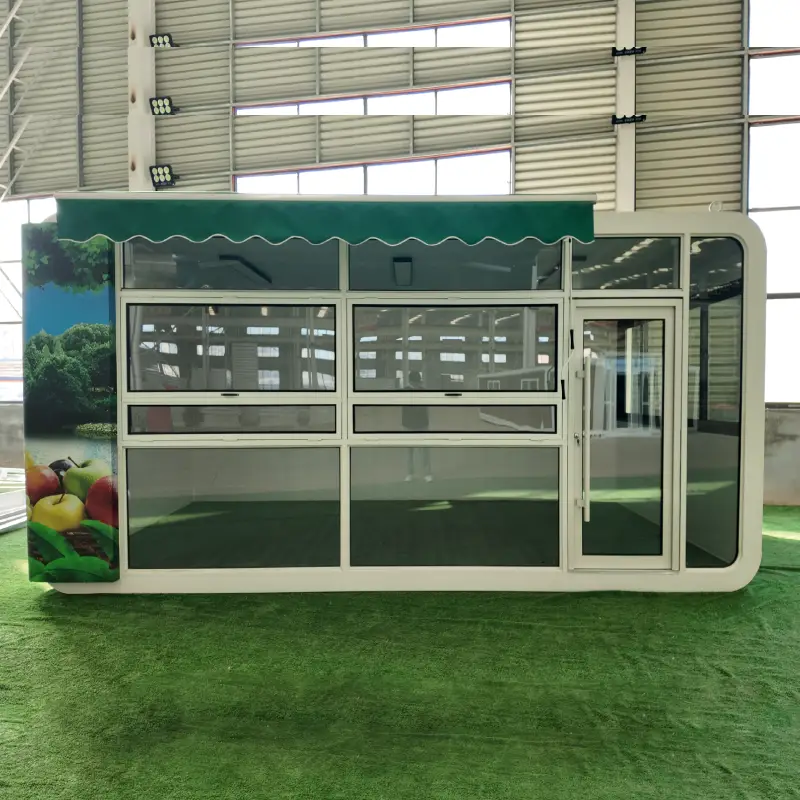
Closed modules work best for bathrooms and utilities, while glass-walled modules enhance natural light in shared zones.
Optimizing Floor Plans for Functionality and Space
Prioritize dual-purpose areas: fold-down desks in bedrooms, convertible kitchen islands, and storage-integrated staircases. Industry standards recommend keeping circulation paths under 4 feet wide in single-container units. For 20-foot modules, limit the floor plan to 3 key zones. Use 2-foot recesses along container walls for built-in shelving or HVAC ductwork.
Site Preparation and Foundation Setup
Selecting the ideal location and leveling the ground
Begin with a detailed site analysis to ensure stable soil conditions and proper drainage. Prioritize land with a load-bearing capacity of at least 2,500 psf, verified through professional soil testing aligned with the 2023 Geotechnical Assessment Guidelines. Clear vegetation and level the ground using laser-guided equipment to achieve a slope ¬˚2%.
Mark the foundation perimeter with temporary stakes, preserving at least 10 feet of clearance from property lines. Compact the subsoil in 6-inch layers using vibratory rollers.
Laying a stable foundation for structural support
Opt for concrete piers, perimeter beams, or slab-on-grade foundations depending on soil type. Reinforced concrete footings extending 12-18" below frost line depth provide optimal stability.
Waterproof with bituminous membrane before anchoring containers. Allow concrete to cure for 7-10 days. Anchor bolts should be spaced ¬˚4 feet apart along container rails.
For flood-prone areas, elevate foundations 12-24" above Base Flood Elevation (BFE) using helical piles. Cross-validate foundation plans with local building codes.
Container Selection and On-Site Modifications
Choosing the right shipping container for fast assembly
Select ISO-certified shipping containers for structural durability. High-cube containers (9.5 ft tall) provide additional vertical space. Verify container condition by checking:
- Floor thickness (´1.8mm for heavy loads)
- Door mechanism functionality
- Absence of chemical residue
Cutting openings and framing for doors and windows
Use plasma cutters to create precise openings. Maintain structural integrity by:
- Leaving at least 12" of uncut steel between openings
- Installing steel lintels above frames
- Reinforcing cut edges with sealants
Insulating and reinforcing the container structure
| Insulation Type | R-Value | Best Use Case |
|---|---|---|
| Spray foam | 6.5/in | Humid climates |
| Rock wool | 4.2/in | Fire-prone areas |
| Rigid panels | 5.0/in | DIY modifications |
Reinforce walls with vertical steel studs (16" spacing). Fire-resistant gypsum board adds protection and stability.
Efficient tips for modifying containers on-site
Implement a modular workflow:
- Complete all cutting before insulation
- Install electrical conduit before wall finishes
- Batch similar welding tasks
Use vacuum-equipped tools to maintain air quality.
Assembling and Securing the Quickassembly Structure
Positioning and joining containers with precision
Mark guide points on the foundation to align container corners within 1/8-inch tolerance. Use hydraulic jacks for positioning.
Ensuring alignment and structural integrity
Verify alignment using laser levels. Reinforce load-bearing joints with steel plates.
Welding and bolting techniques for secure connections
For permanent joints, use continuous fillet welding on exterior seams. High-strength bolts (Grade 8 or higher) provide durable connections. Apply anti-corrosion coatings to all welded areas.
Installing Utilities and Final Customization
Integrating wiring, plumbing, and HVAC systems
Pre-install modular electrical and plumbing systems during modification. Use ductless mini-split systems for HVAC.
Adding windows, doors, and interior finishes
Opt for factory-cut openings with welded steel frames. Install double-glazed windows with low-E coatings.
Personalizing aesthetics and functional upgrades
Apply exterior cladding like wood slats or corrugated metal. Indoors, use magnetic wall panels for flexible decor. Consider rooftop solar panels or green walls to reduce indoor temperatures.
FAQ
What are the benefits of prefabricated container homes?
Prefabricated container homes offer faster construction timelines, typically 35% faster than traditional homes. They combine modular designs with intentional planning for efficient building.
How should I plan my budget for a container house?
Allocate your budget as follows: 40% to foundation and structural modifications, 30% to insulation and utilities, and 20% to interior finishes.
What should I consider when selecting the location for my container home?
Conduct a detailed site analysis to ensure stable soil conditions and proper drainage. Select land with a load-bearing capacity of at least 2,500 psf.
How do I ensure the structural integrity of my container modifications?
Use reinforced concrete footings, maintain at least 12 inches of uncut steel between openings, and reinforce load-bearing joints with steel plates.